Salam to all,
Today our guest post comes from my amazing best friend.. She is from Turkmenistan and knows many Russian recipes. I was lucky enough to try these when her dear mom was here visiting, talk about AUTHENTIC! These are amazingly delicious and super simple to make, I encourage everyone to try it!!
I’ll leave you with her post:
Here we go… Bismilahi Rahman Rahim! This recipe will be very different from EmMalik’s dishes. First of all, it is a popular Russian dish called Pelmeni. Russian food is very different from the middle eastern cooking primarily because it does not require all those exotic spices. Russian dishes are easy to cook and do not demand much skill or special ingredients. Salt, pepper, fresh dill will do the job 🙂 For some (my husband included) it’s a little bland. However, this dish is an exeption and is very popular. So let’s get to business:
There are 4 steps to making pelmeni: 1) Making the dough, 2) Making the filling and 3) Assembling the pelmeni. 4) Cooking/boiling pelmeni
Dough ingredients: 2 eggs, 1 teaspoon of salt, 1.5 cups of warm water, 4 cupIf you have a bread maker, this step should be simple and fast. I dont, therefore sift the flour in
a bowl and make a dimple in the middle. Crack eggs and add salt, then gradually add water and knead the dough vigorously in a bowl.
When the dough gets sticky, sift some flour on the clean surface: transfer the dough and knead some more till it becomes soft, elastic and not sticky. Then divine into 2 pieces, put in a bowl and cover with a clean, dry kitchen towel
1 lb ground beef, 1 medium size inion finely chopped, 2 small cloves of minced garlic, salt, pepper to taste. You can add any other spices if you wish. Mix everything togeth
Step 3: Assembling pelmeni – the fun part.
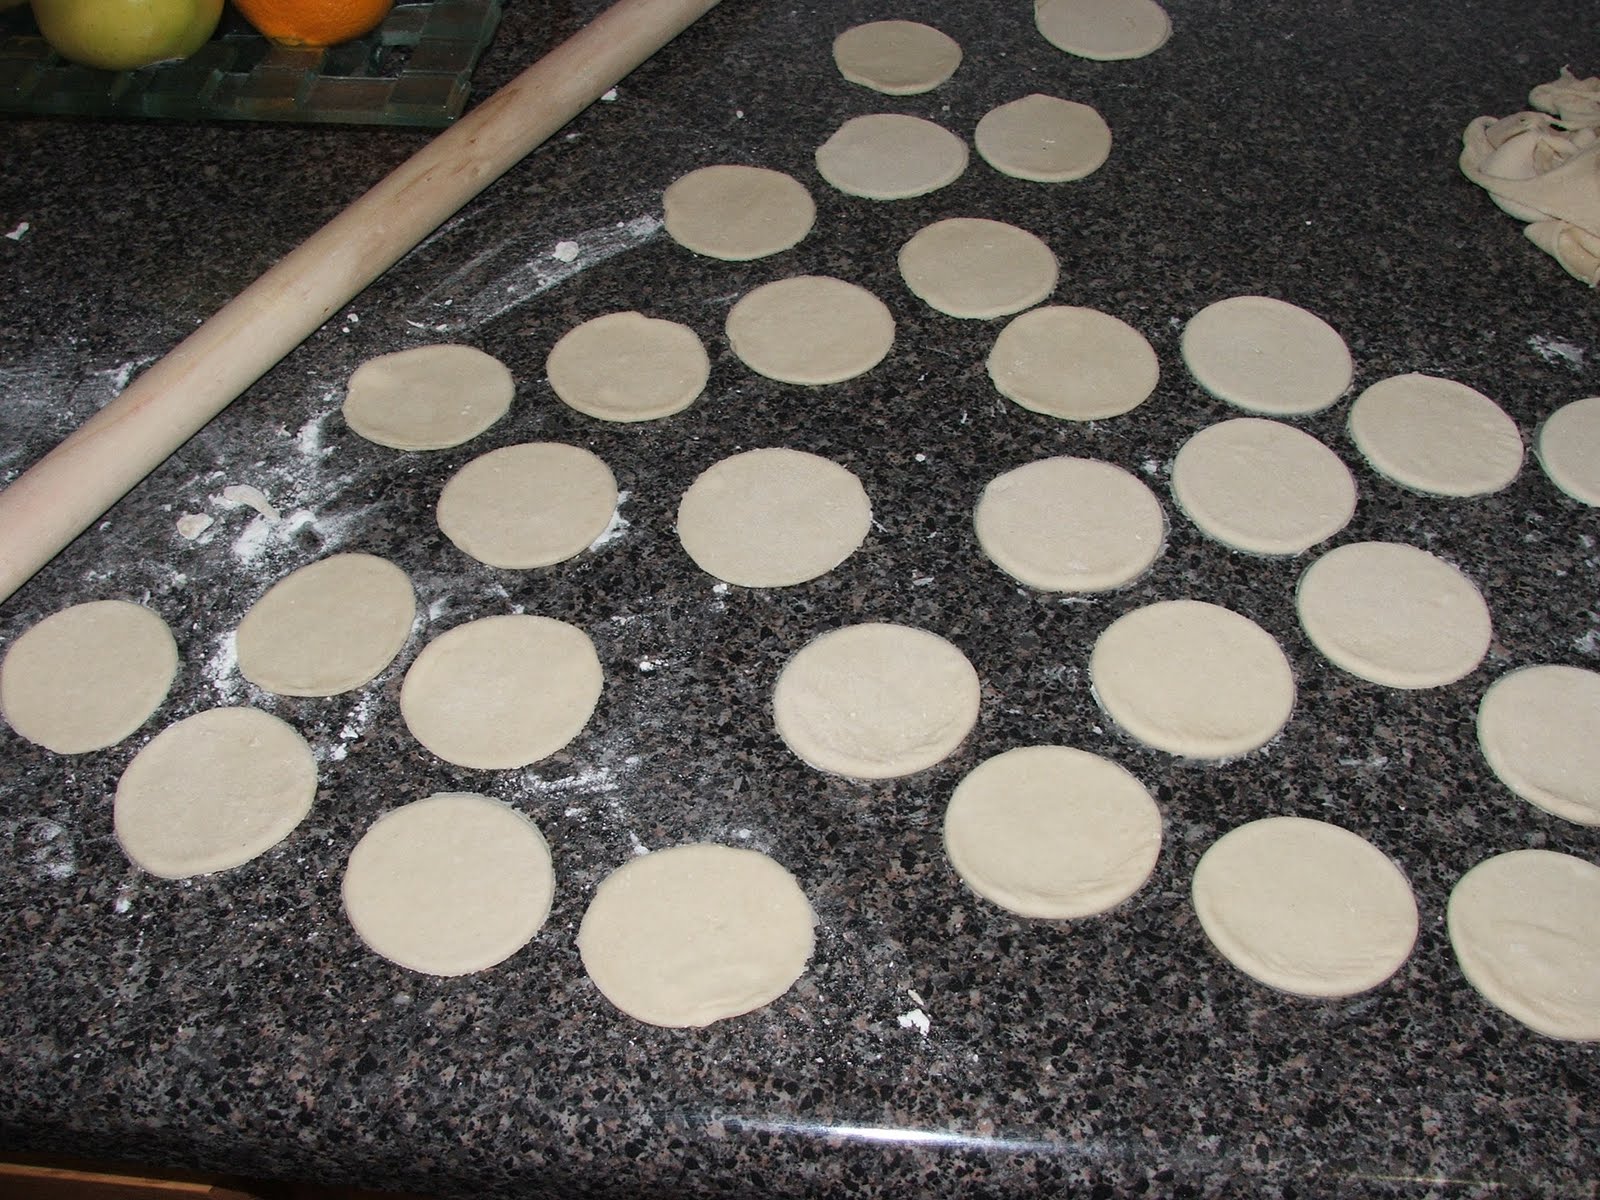
Take one piece of the dough and roll it into a big circle (about 3mm thick)
Take a round cookie cutter or medium size glass and cut circles until all dough is gone
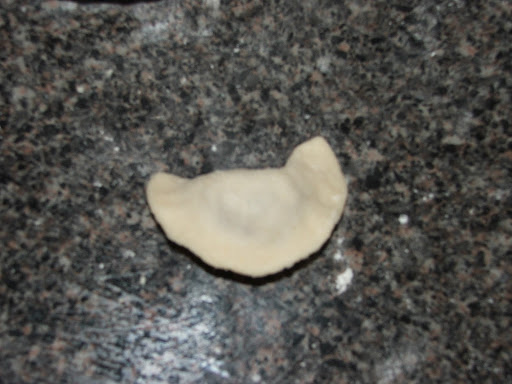
Take each circle, put one full teaspoon of filling, pinch the edges and then fold two ends together. Stack each finsihed pelmen’ (that’s singular for pelmeni) on a slightly floured tray:
While you are finishing up making pelmeni, fill a pot with water (about half full). Let it boil. Add 1 – 2 cubes of chicken broth. When the water boils, add enough pelmeni. They are ready when they are floating on the top for 5 minutes.
Take out pelmeni using a skimmer. Some prefer broth in their pelmeni, others eat just the pelmeni served with sour cream and fresh dill.
I think those little pelmeni are the cutest thing in the world! Thanks so much for the efforts and yumminess you’ve delivered to us today! 🙂